Configuration
This guide covers local installation with Laravel Herd only.
Production deployment is not covered: if you're using IndieDesk, you already know how to handle it.
Requirements
- macOS or Windows
- Laravel Herd installed
- PHP 8.4
- Composer
1. Install dependencies
Open a terminal, navigate to the project folder and run:
composer install
npm install && npm run build
If npm run build fails on macOS (Apple Silicon)
Run these commands once and try again:
rm -rf node_modules package-lock.json
npm cache verify
npm install
npm run build
This fixes macOS issues that sometimes block native Node packages. You do not need to repeat this again.
2. Environment setup
Copy the configuration file and generate the application key:
cp .env.example .env
php artisan key:generate
3. Configure .env
Open the .env file and set the following values.
Language and timezone
Set your preferred language and timezone:
APP_LOCALE=en
APP_FALLBACK_LOCALE=en
APP_FAKER_LOCALE=en_US
APP_TIMEZONE=Europe/Rome
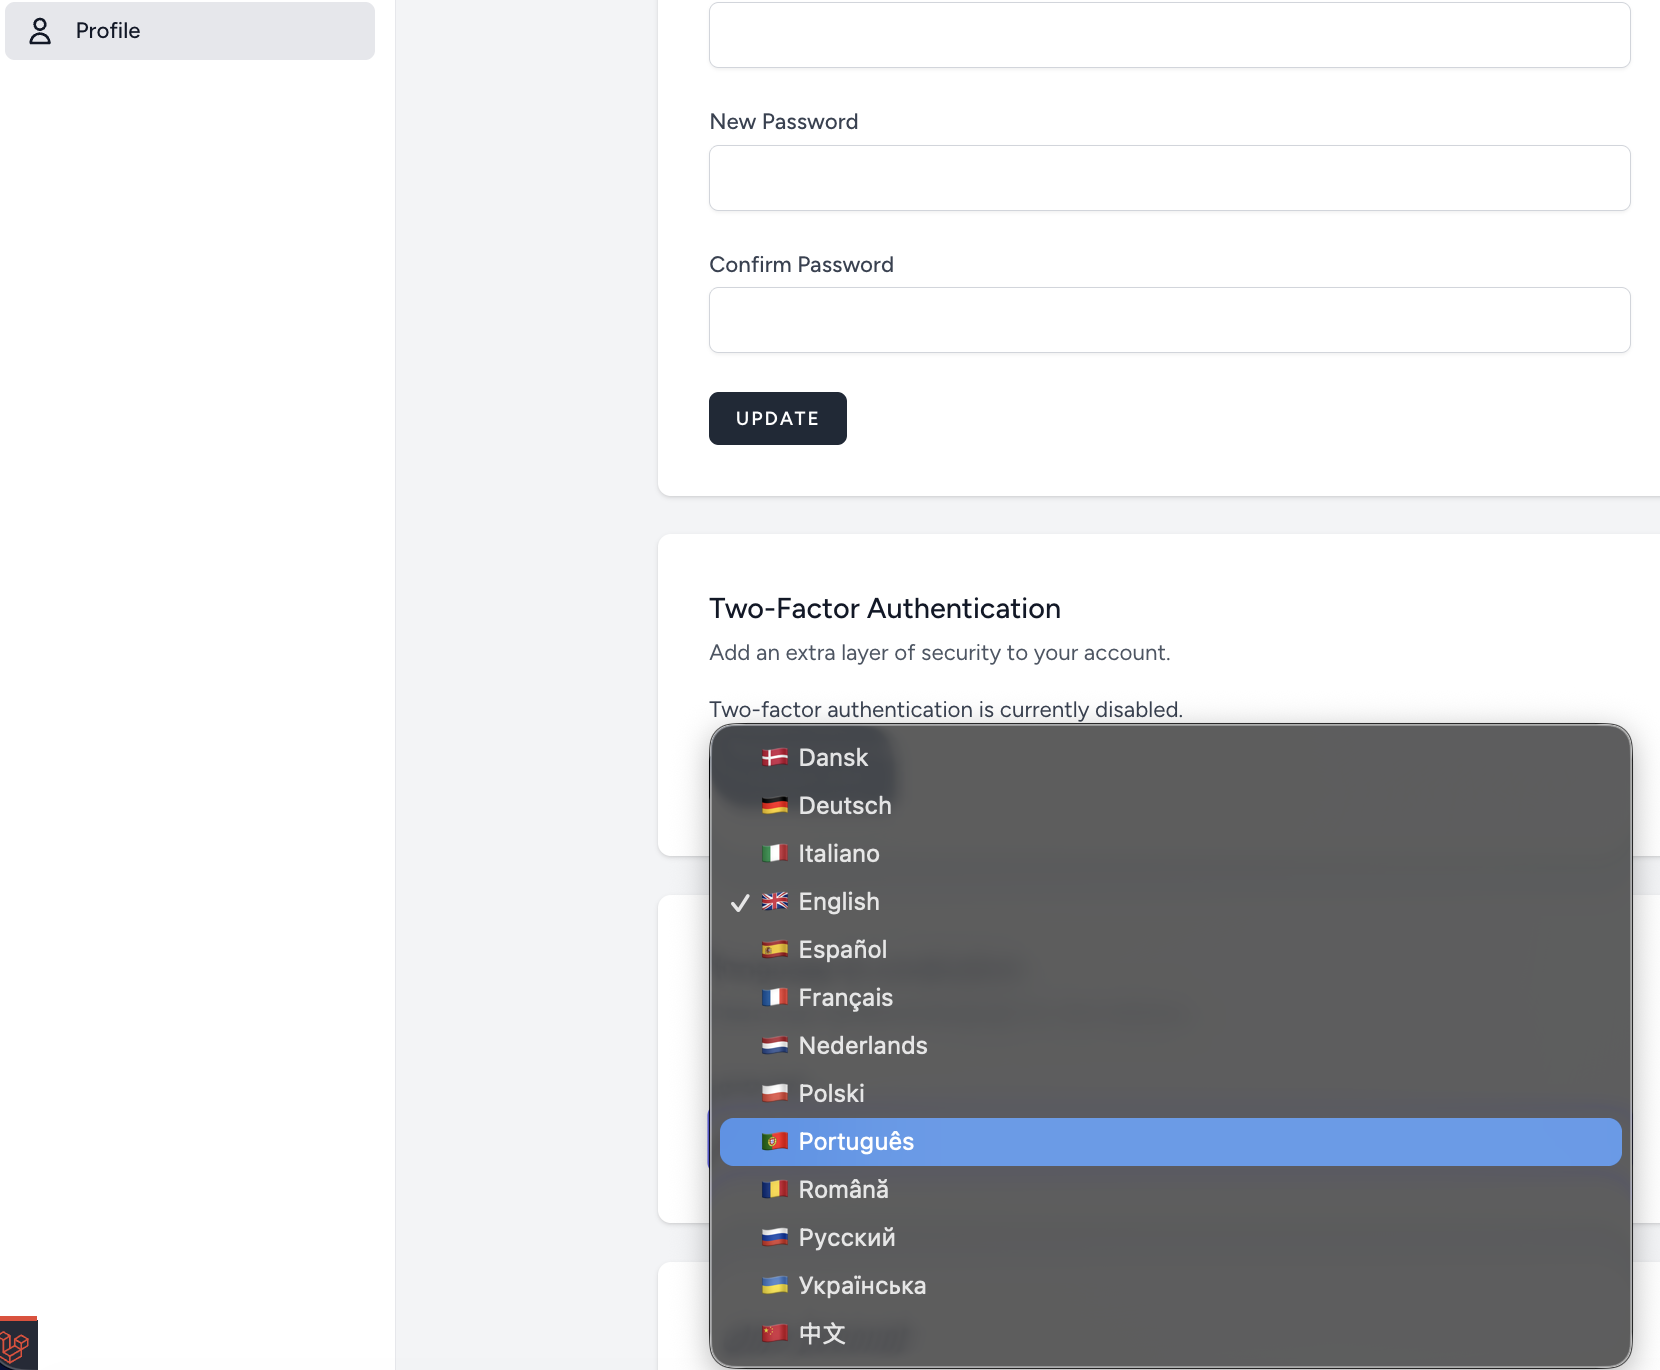
Available languages: da, de, en, es, fr, it, nl, pl, pt, ro, ru, uk, zh.
4. Database setup
Choose one of the two options below.
Option A — SQLite
Set the absolute path in .env:
DB_CONNECTION=sqlite
DB_DATABASE=/your_project_path/database/database.sqlite
Create the file and run the migrations:
touch database/database.sqlite
php artisan migrate
Option B — MySQL
Connect to MySQL and create the database and a dedicated user:
CREATE DATABASE your_db_name CHARACTER SET utf8mb4 COLLATE utf8mb4_unicode_ci;
CREATE USER 'your_username'@'localhost' IDENTIFIED BY 'your_password';
GRANT ALL PRIVILEGES ON your_db_name.* TO 'your_username'@'localhost';
FLUSH PRIVILEGES;
Set the connection in .env:
DB_CONNECTION=mysql
DB_HOST=127.0.0.1
DB_PORT=3306
DB_DATABASE=your_db_name
DB_USERNAME=your_username
DB_PASSWORD=your_password
Run the migrations:
php artisan migrate
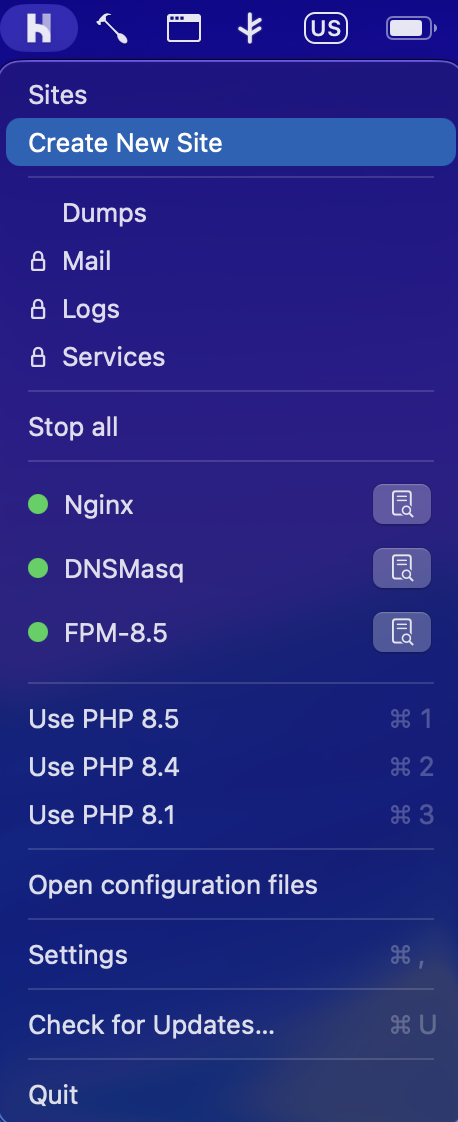
5. Create a new site in Herd
Open Herd and create a new site with PHP 8.4 selected.
6. Link the project
Select Link existing project and point it to the folder where you extracted IndieDesk.

7. Create your user
Registration is disabled by default. Create your user via Artisan Tinker:
php artisan tinker
Then run:
\App\Models\User::create([
    'name' => 'Your Name',
    'email' => 'you@example.com',
    'password' => bcrypt('your-password'),
]);
Then go to your site URL and login.
Post-installation settings
Once logged in, configure IndieDesk:
Set your preferred language
Go to the Profile section and select your preferred language.
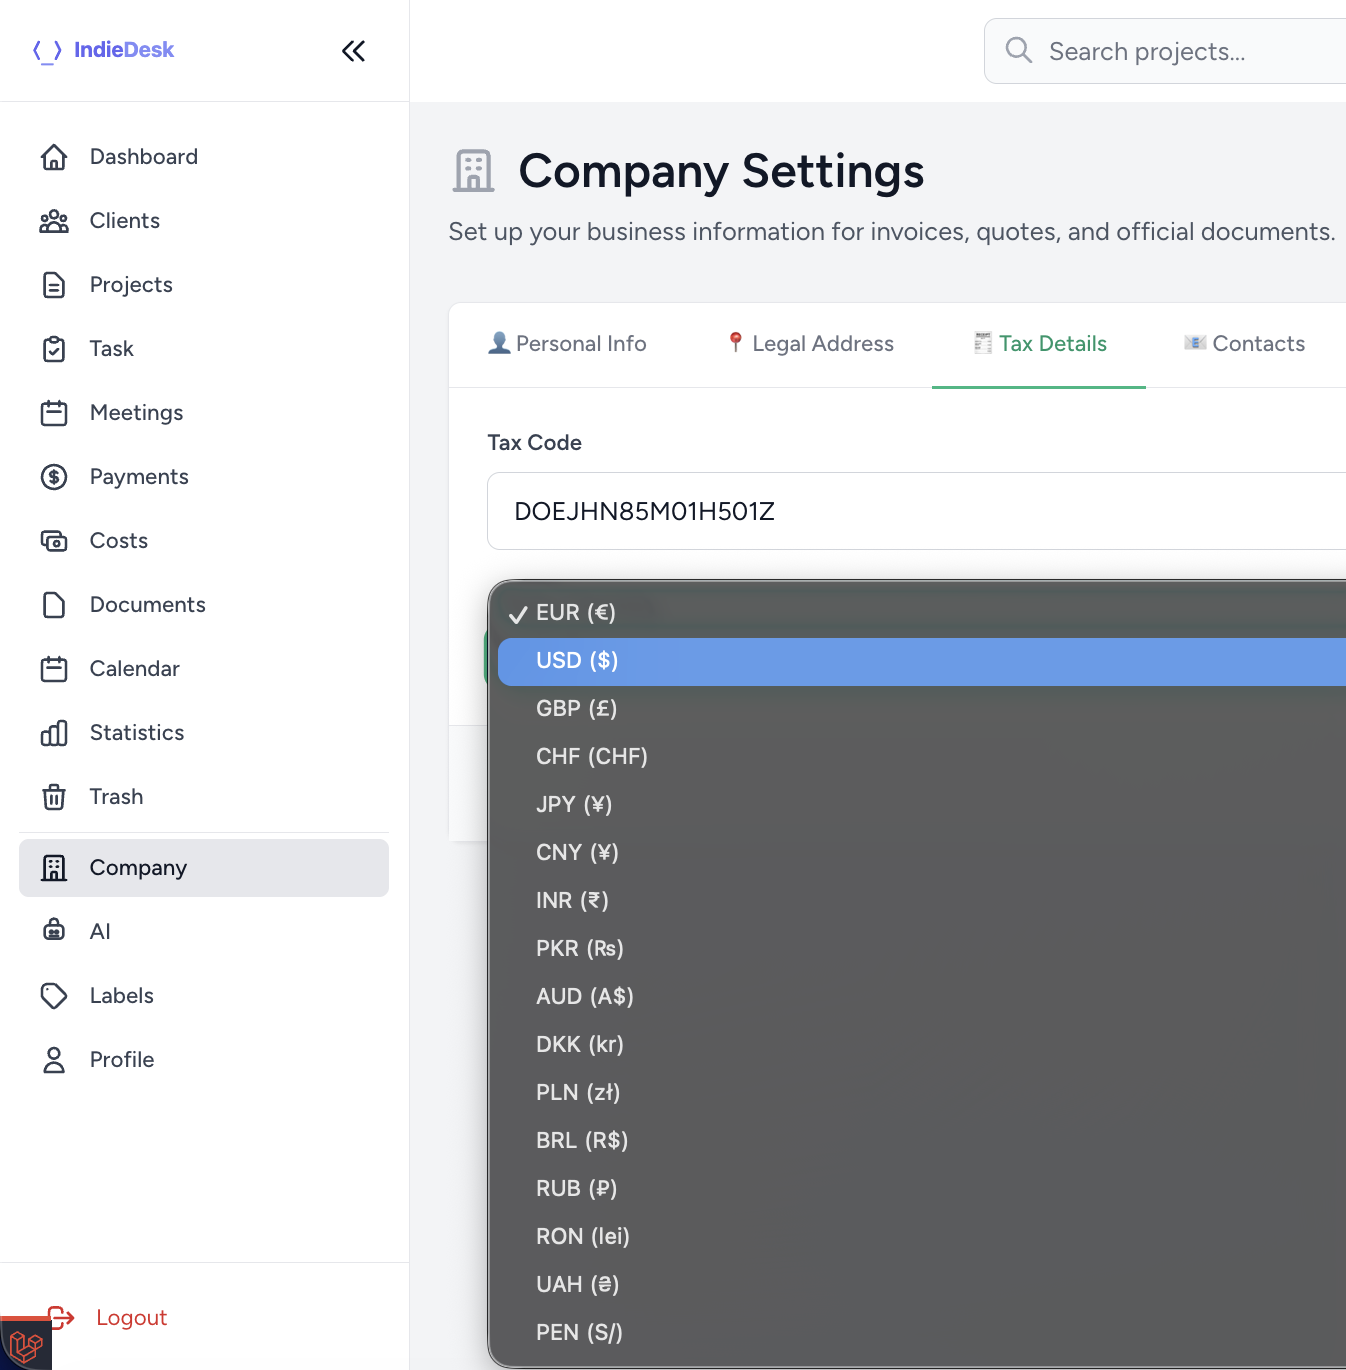
Set your preferred currency
Go to the Company section and select your preferred currency.
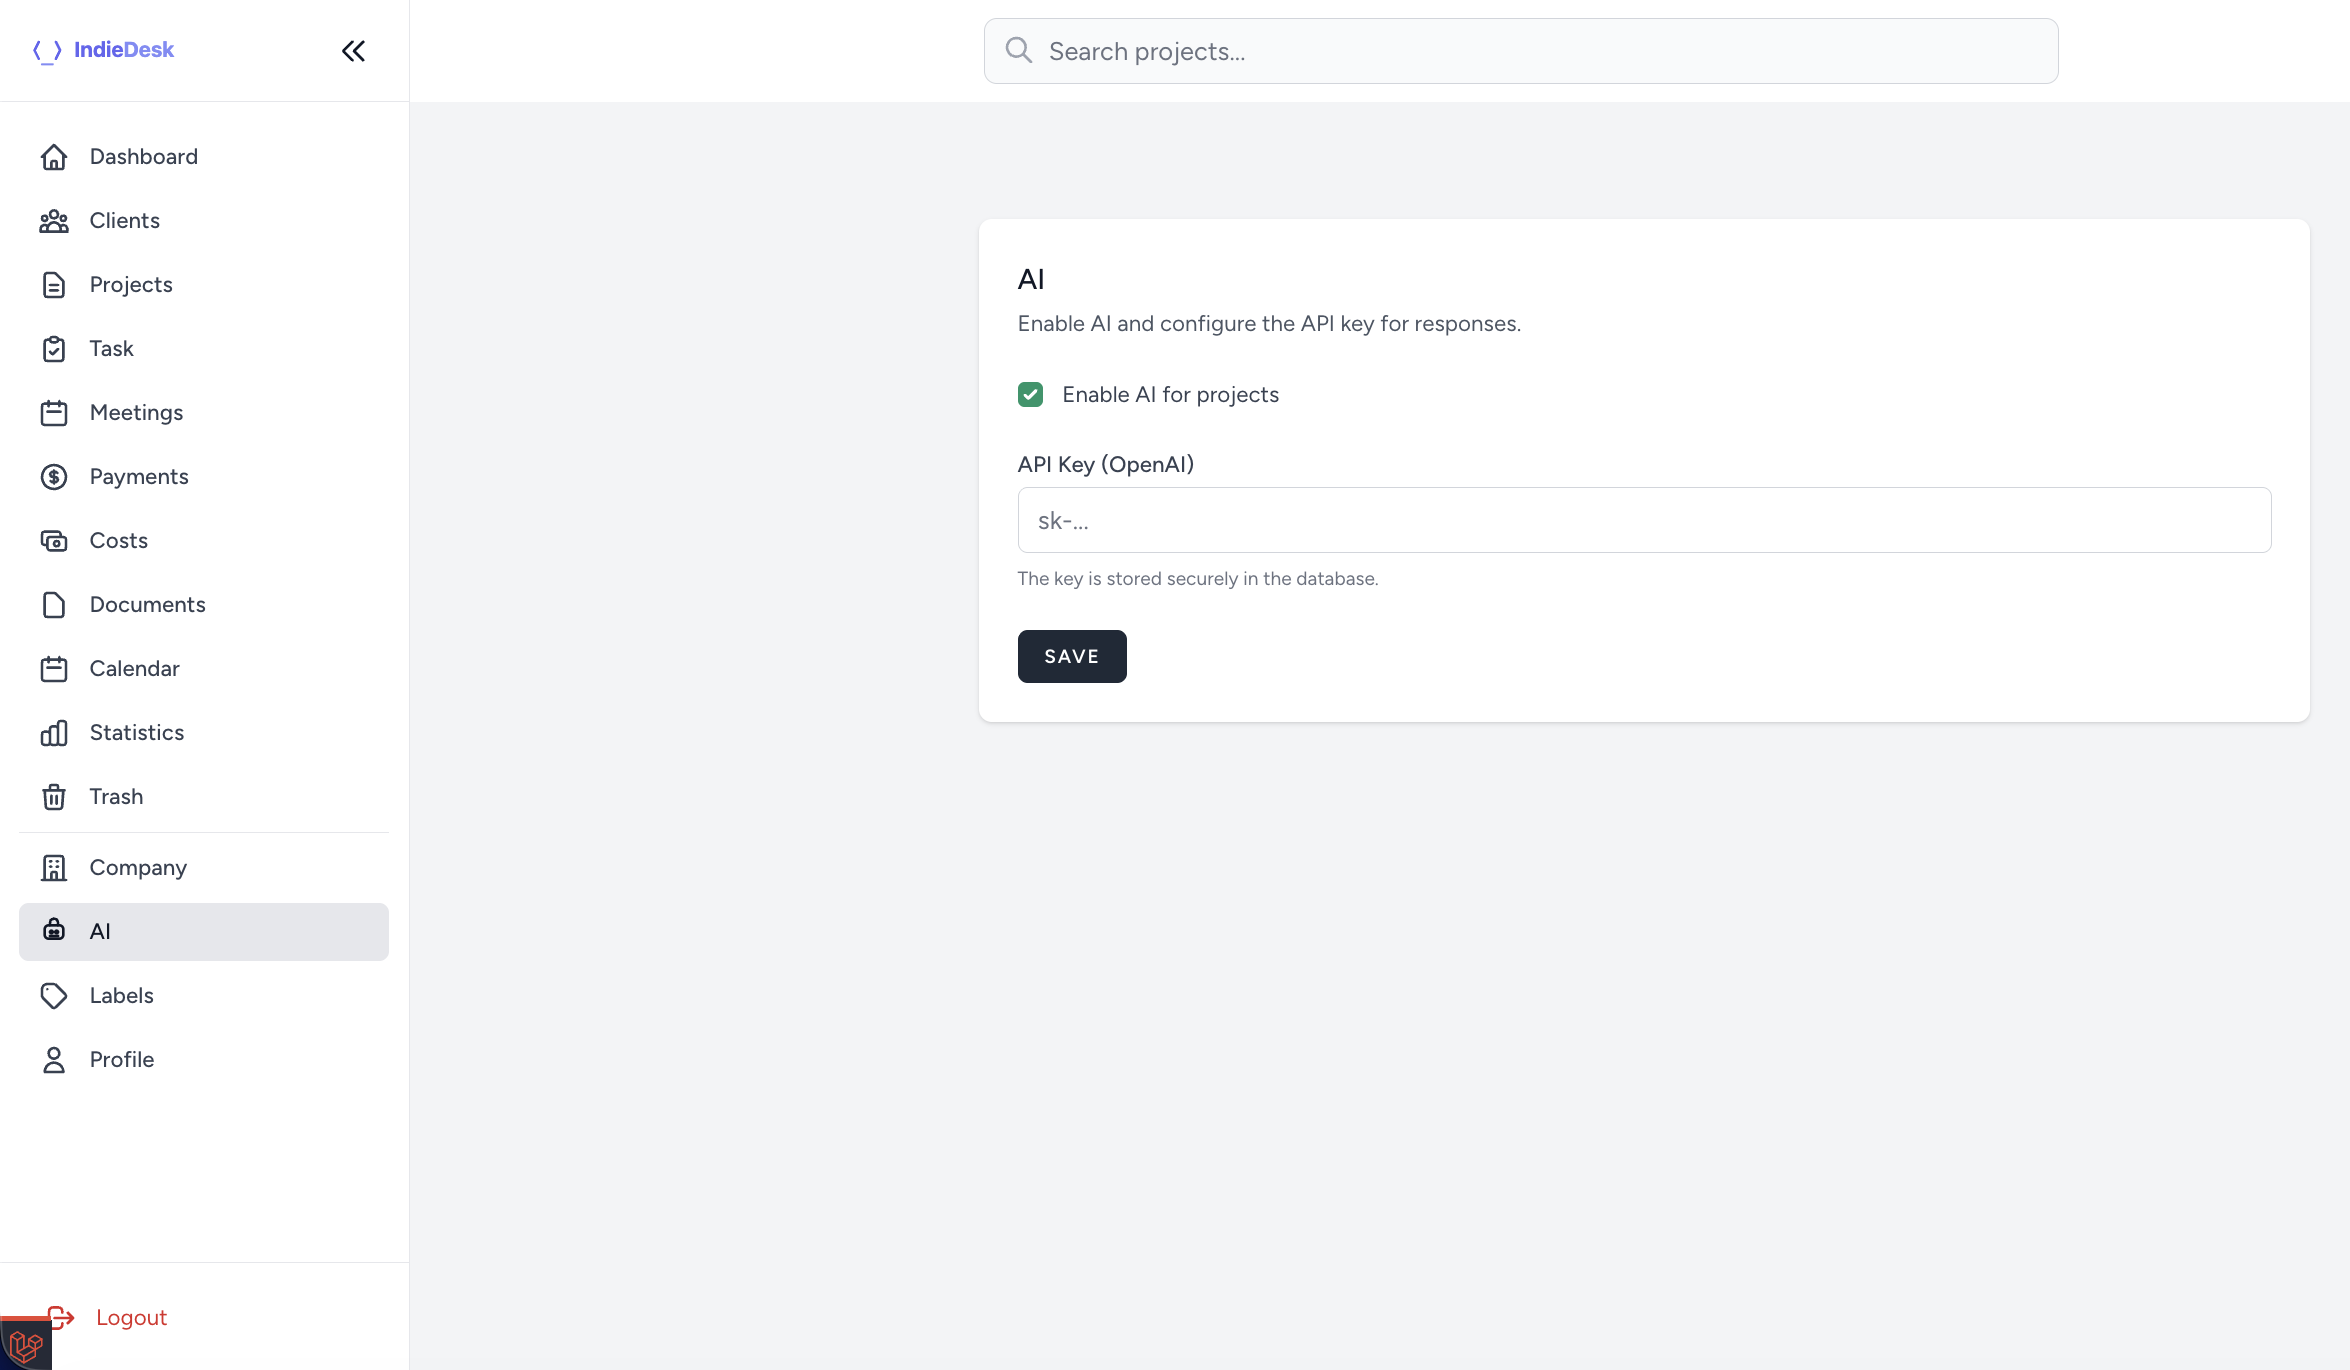
AI Project Assistant (optional)
Go to the AI section and enter your OpenAI API key.
You can get an API key here: https://platform.openai.com/api-keys
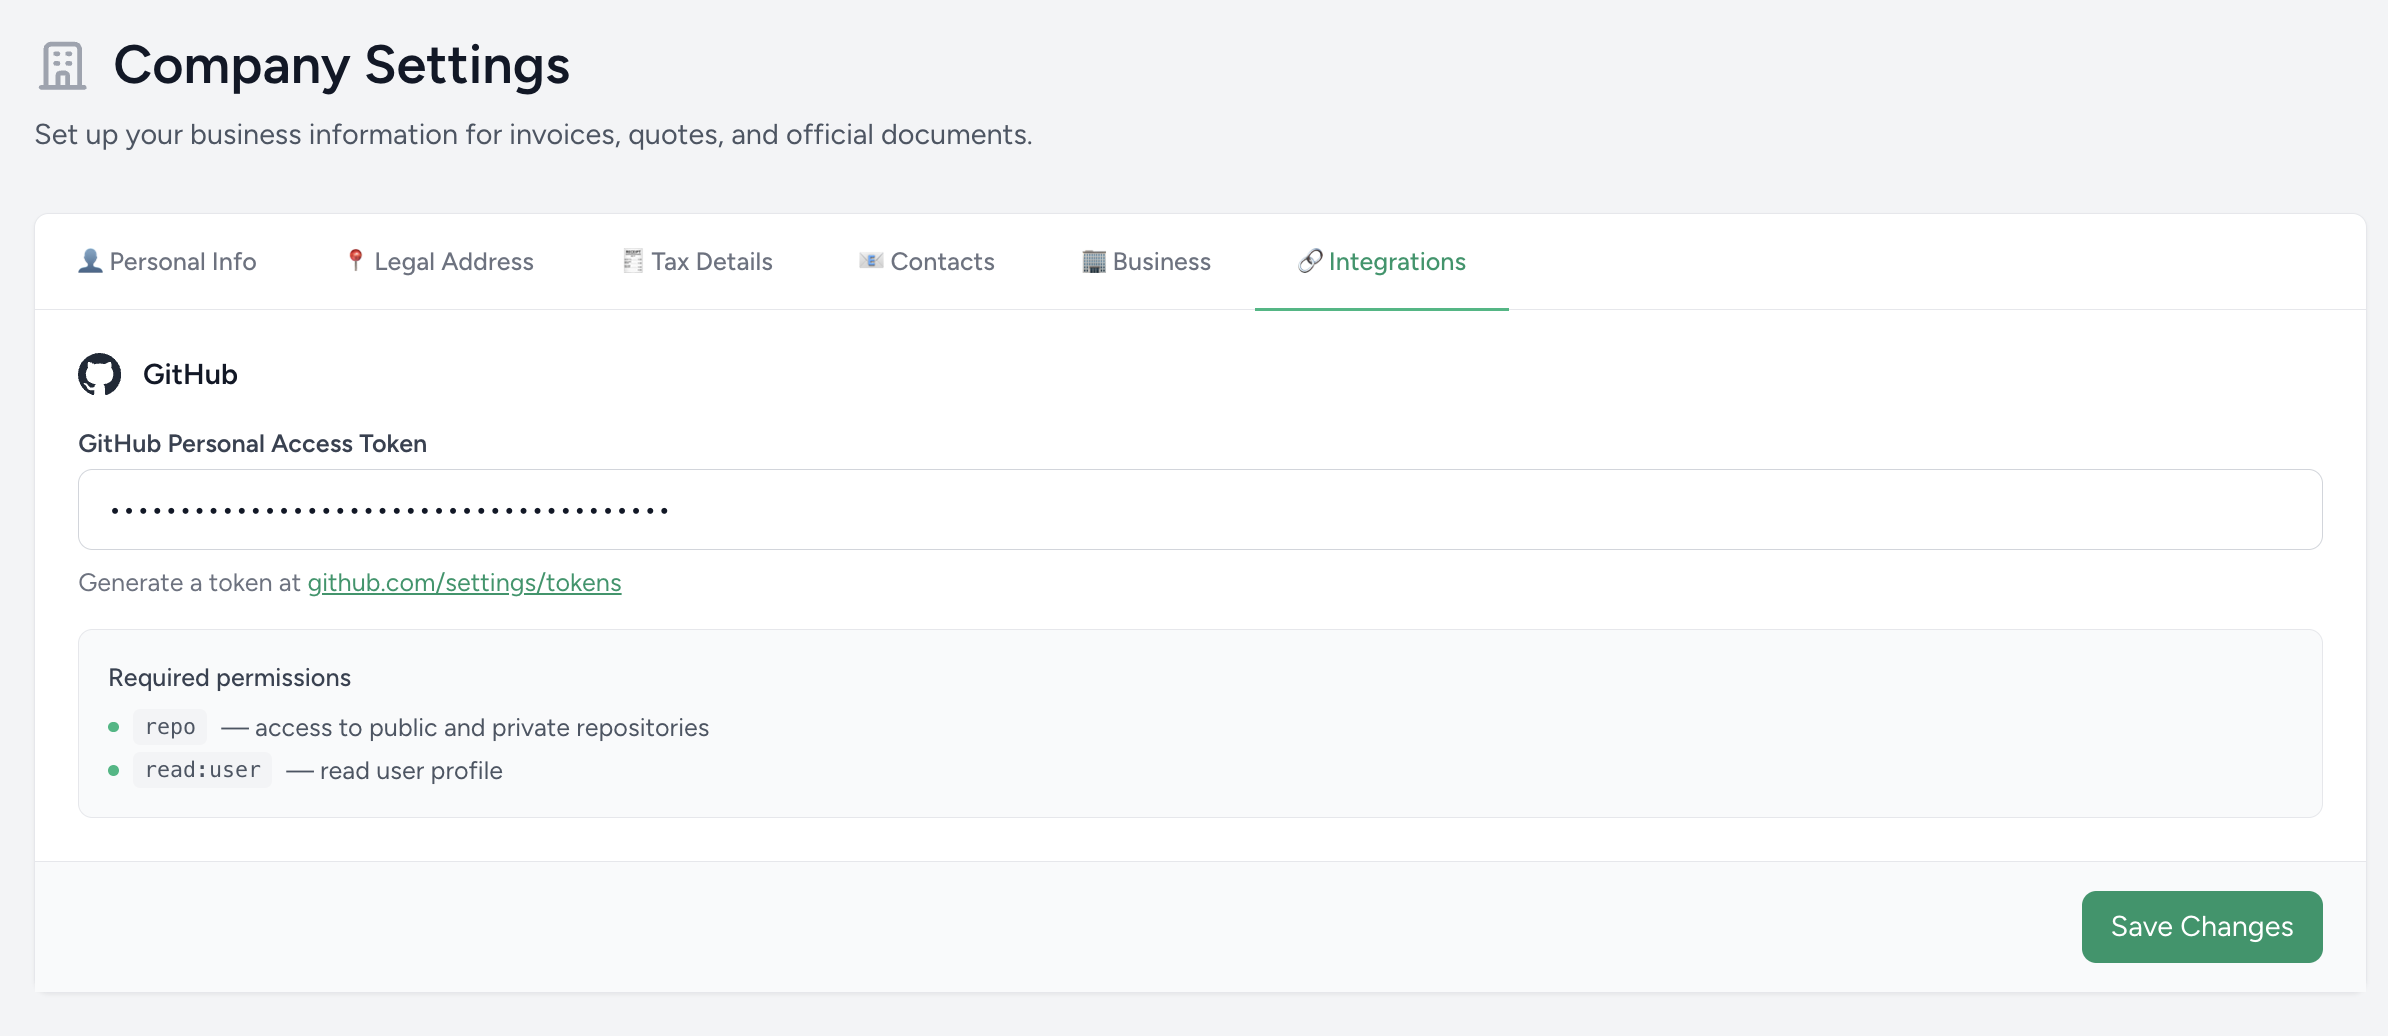
GitHub Integration (optional)
Go to Settings → Business → Integrations and enter your GitHub Personal Access Token (PAT).
This enables the Repository tab on each project — showing commit activity, recent commits and repo info — for any project that has a GitHub repo_url set.
To generate a token, go to https://github.com/settings/tokens and create a classic token with the following scopes:
repo— access to public and private repositoriesread:user— author avatars in the commits list
Once saved, open any project, add the GitHub repo URL in the project settings (Links tab), and the Repository tab will appear automatically.
Google Calendar (optional)
The /calendar page shows an embedded Google Calendar iframe. To configure it with your own calendar:
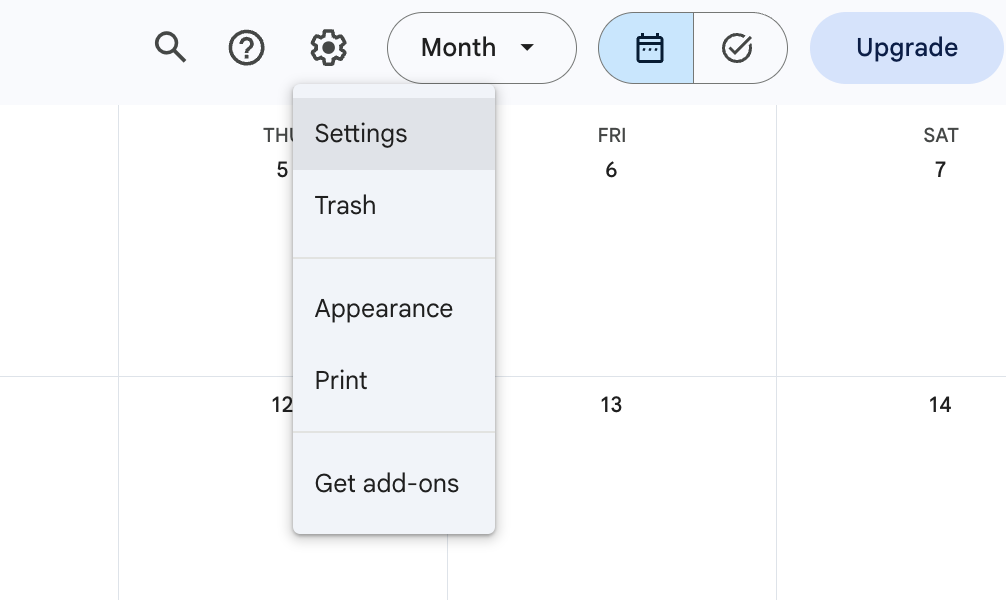
1. Go to calendar.google.com, click the gear icon → Settings.
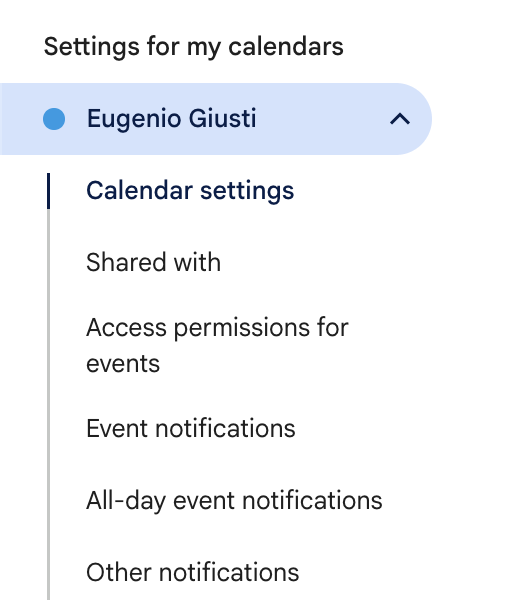
2. In the left sidebar under "Settings for my calendars", click the calendar name.
3. Click "Integrate calendar" → find the "Embed code" section.
4. Copy the entire src="..." URL from the iframe tag. It looks like:
https://calendar.google.com/calendar/embed?src=your%40gmail.com&ctz=Europe%2FRome
5. Open your .env file and add the following variable with the full URL you just copied:
GOOGLE_CALENDAR_EMBED_URL=https://calendar.google.com/calendar/embed?src=your%40gmail.com&ctz=Europe%2FRome
Make sure you are logged into the browser with the same Google account to view the calendar.